KUJI is the cryptocurrency token for Team Kujira that can be traded on its own decentralised exchange, FIN. This guide is aimed at beginners who simply wish to invest in KUJI, but a more technical guide to trading can be here. If you don’t have any axlUSDC bridged to Kujira yet, skip to the end of this article to get you started.
Table of Contents
Buying KUJI Using axlUSDC
Before attempting to buy KUJI, make sure that you have enough tokens in your wallet for gas fees. Fees are paid in KUJI by default, but if you wish to change the gas denomination, a guide for doing so can be found here.
To check which tokens are currently available in your wallet, hover over your Kujira address as shown below:

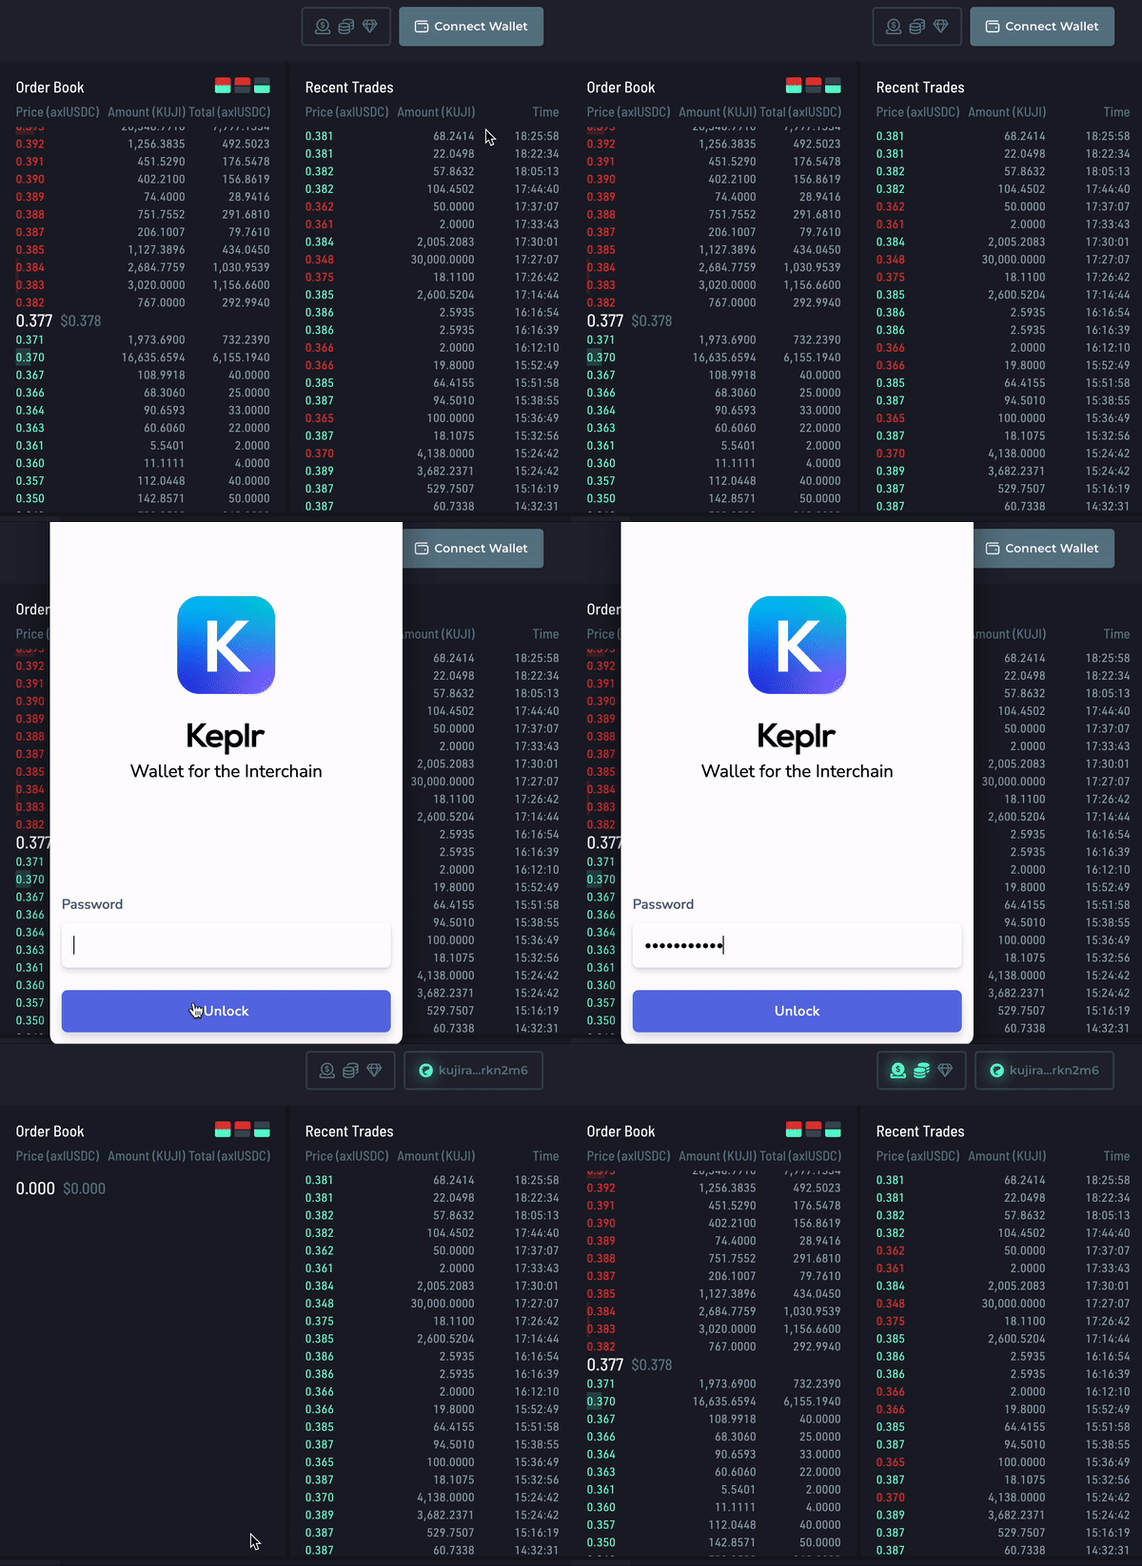
- To begin trading on FIN, you will need to connect your Keplr wallet by clicking on “Connect Wallet”:

- Navigate to the KUJI – axlUSDC trading pair.

- Click “Market” in the bottom right corner of the UI and enter the number of axlUSDC tokens you wish to trade. For example, if you wanted to buy $100 worth of KUJI, input 100 as shown below:

- Click “Buy KUJI” and approve the transaction using the Keplr popup:

- Once the transaction is complete, you can check the details of the trade by clicking on the popup that appears in the middle of your screen:

Getting USDC On FIN
There are a few ways to bridge USDC to Kujira mainnet, but the two easiest ways are:
- Bridge axlUSDC from Avalanche, Polygon or Fantom
- Withdraw directly from a CEX
As these processes have been explained in-depth already, we will simplify them here. However, if this is your first time bridging, we recommend reading this article to aid your understanding.
Getting axlUSDC On Kujira
**These steps are EXPLICITLY for bridging axlUSDC to Kujira mainnet -trying to do this with native USDC will result in loss of funds**
The following pictures will demonstrate bridging axlUSDC from Fantom to Kujira. If you have your axlUSDC on Avalanche or Polygon, substitute these networks every time you see Fantom.
- Go to https://blue.kujira.app/bridge.
- Connect to your Keplr wallet and configure the bridge to show either Avalanche, Polygon or Fantom on the left, and axlUSDC on the right as shown below. The network shown on the left should match the network on which you have axlUSDC currently.

- Next to “Source Balance”, click Connect Wallet and approve the popup on MetaMask.
- Input the amount of axlUSDC you wish to migrate to Kujira, but remember to have some AVAX/MATIC/FTM for fees. You’ll need to pay both a bridge fee and the normal gas fee to transfer between wallets.
- Click “Initiate Bridge”. Once a deposit address has been created, the “Initiate Bridge” button should change to say “Sign and Send”. Click this and approve the transaction to finish the bridging process.

- Bridging can take upwards of 5 minutes to complete, so it is wise to track the progress by clicking the text in the green box.

Withdrawing USDC from a CEX
When withdrawing USDC from a CEX, you may only use the ERC20 (Ethereum) network. Using any other network will result in a loss of funds.
The following pictures will demonstrate this process using ByBit but the steps will be almost identical on every CEX.
- Go to https://blue.kujira.app/bridge
- Make sure you are on the “Crosschain Bridge” section and configure the bridge to mirror the image below:

- Click “Initiate Bridge”. This will produce a deposit address for you to copy into your CEX. This address is ONLY for that network, token and recipient address, you will need to create a new address each time you withdraw. It is worth trialing this process with a small amount of capital first. A warning will appear on the UI if you attempt to generate a deposit address using any network that isn’t Ethereum – make sure it looks like the image below.

- On your CEX, navigate to “Withdraw” and search for USDC. Enter the number of USDC you wish to bridge, recalling that $20.5 is required for fees, and some CEX have a minimum withdrawal.
- Paste the Deposit Address into the withdrawal address box, and change the network to ERC20/ETH if it is not already connected. When you click withdraw, your CEX will usually provide a transaction hash (via email) that you can use to track the progress of the withdrawal. This can take more than 15 minutes!